Laying porcelain slabs is no easy or straightforward task, especially for a beginner or someone with limited landscaping experience. That’s why we’ve put together a comprehensive guide on how to lay porcelain slabs. We’ve detailed all the tools and materials you’ll need, as well as a step-by-step method to help you with the basics.
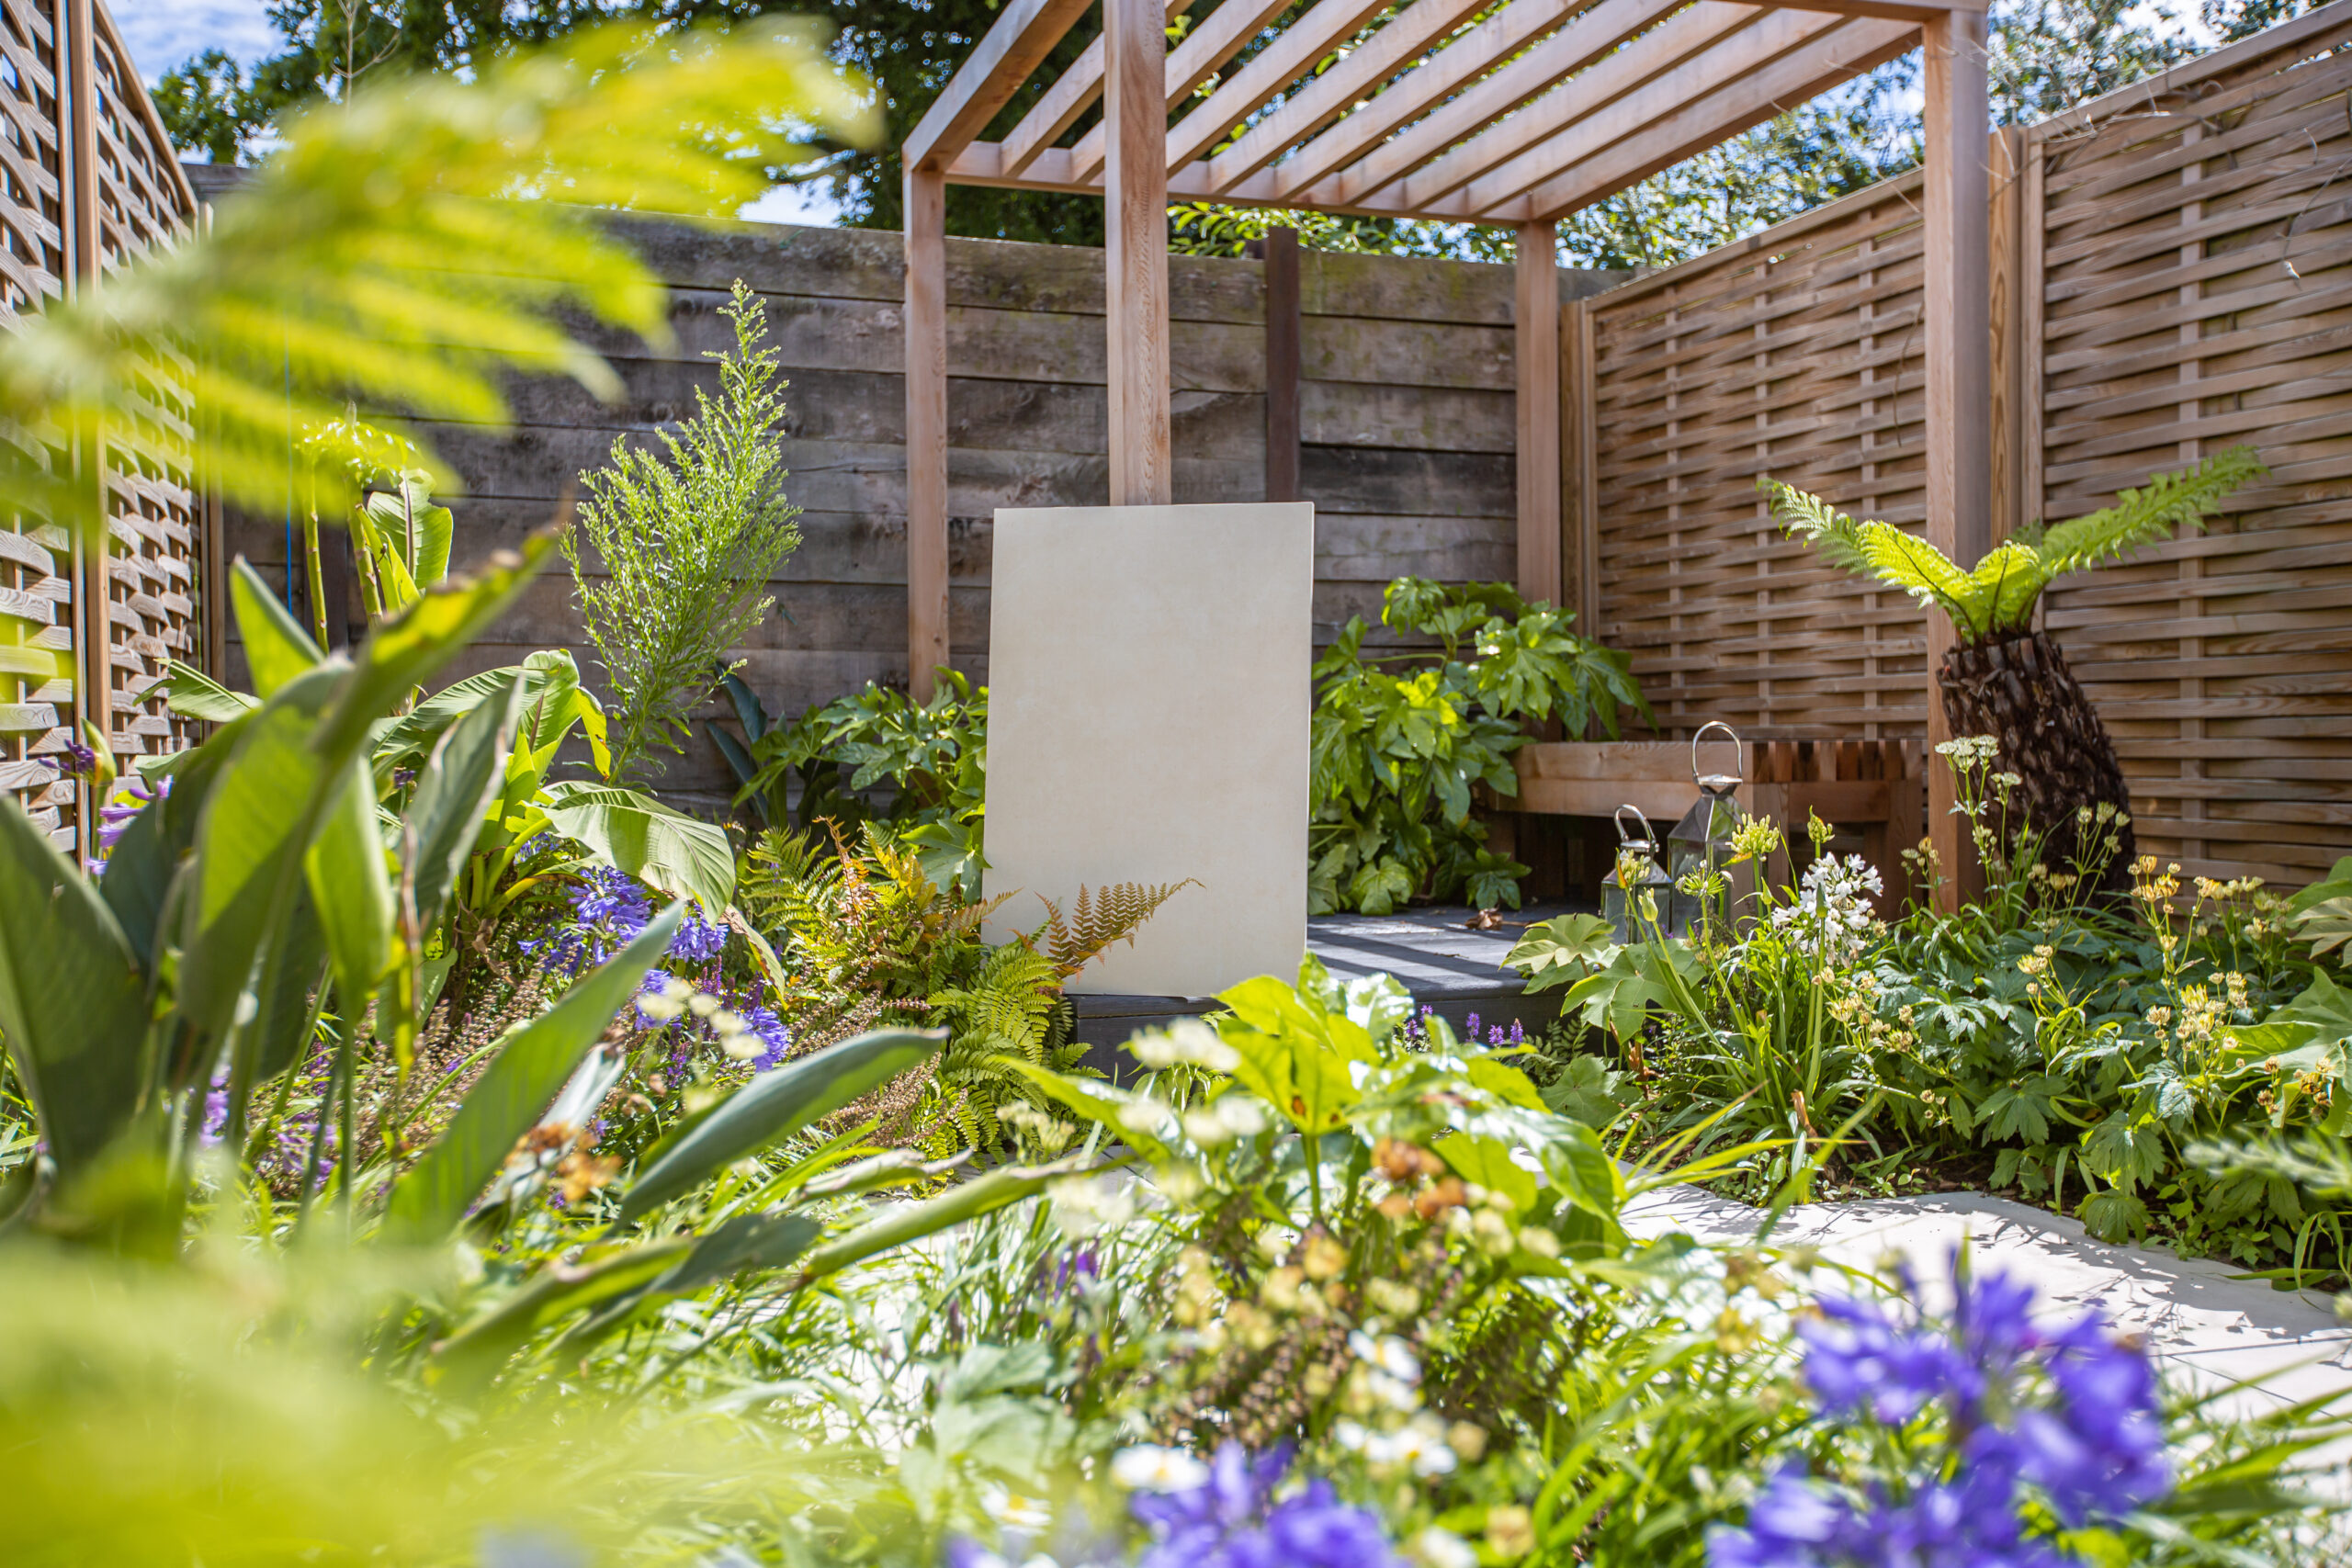
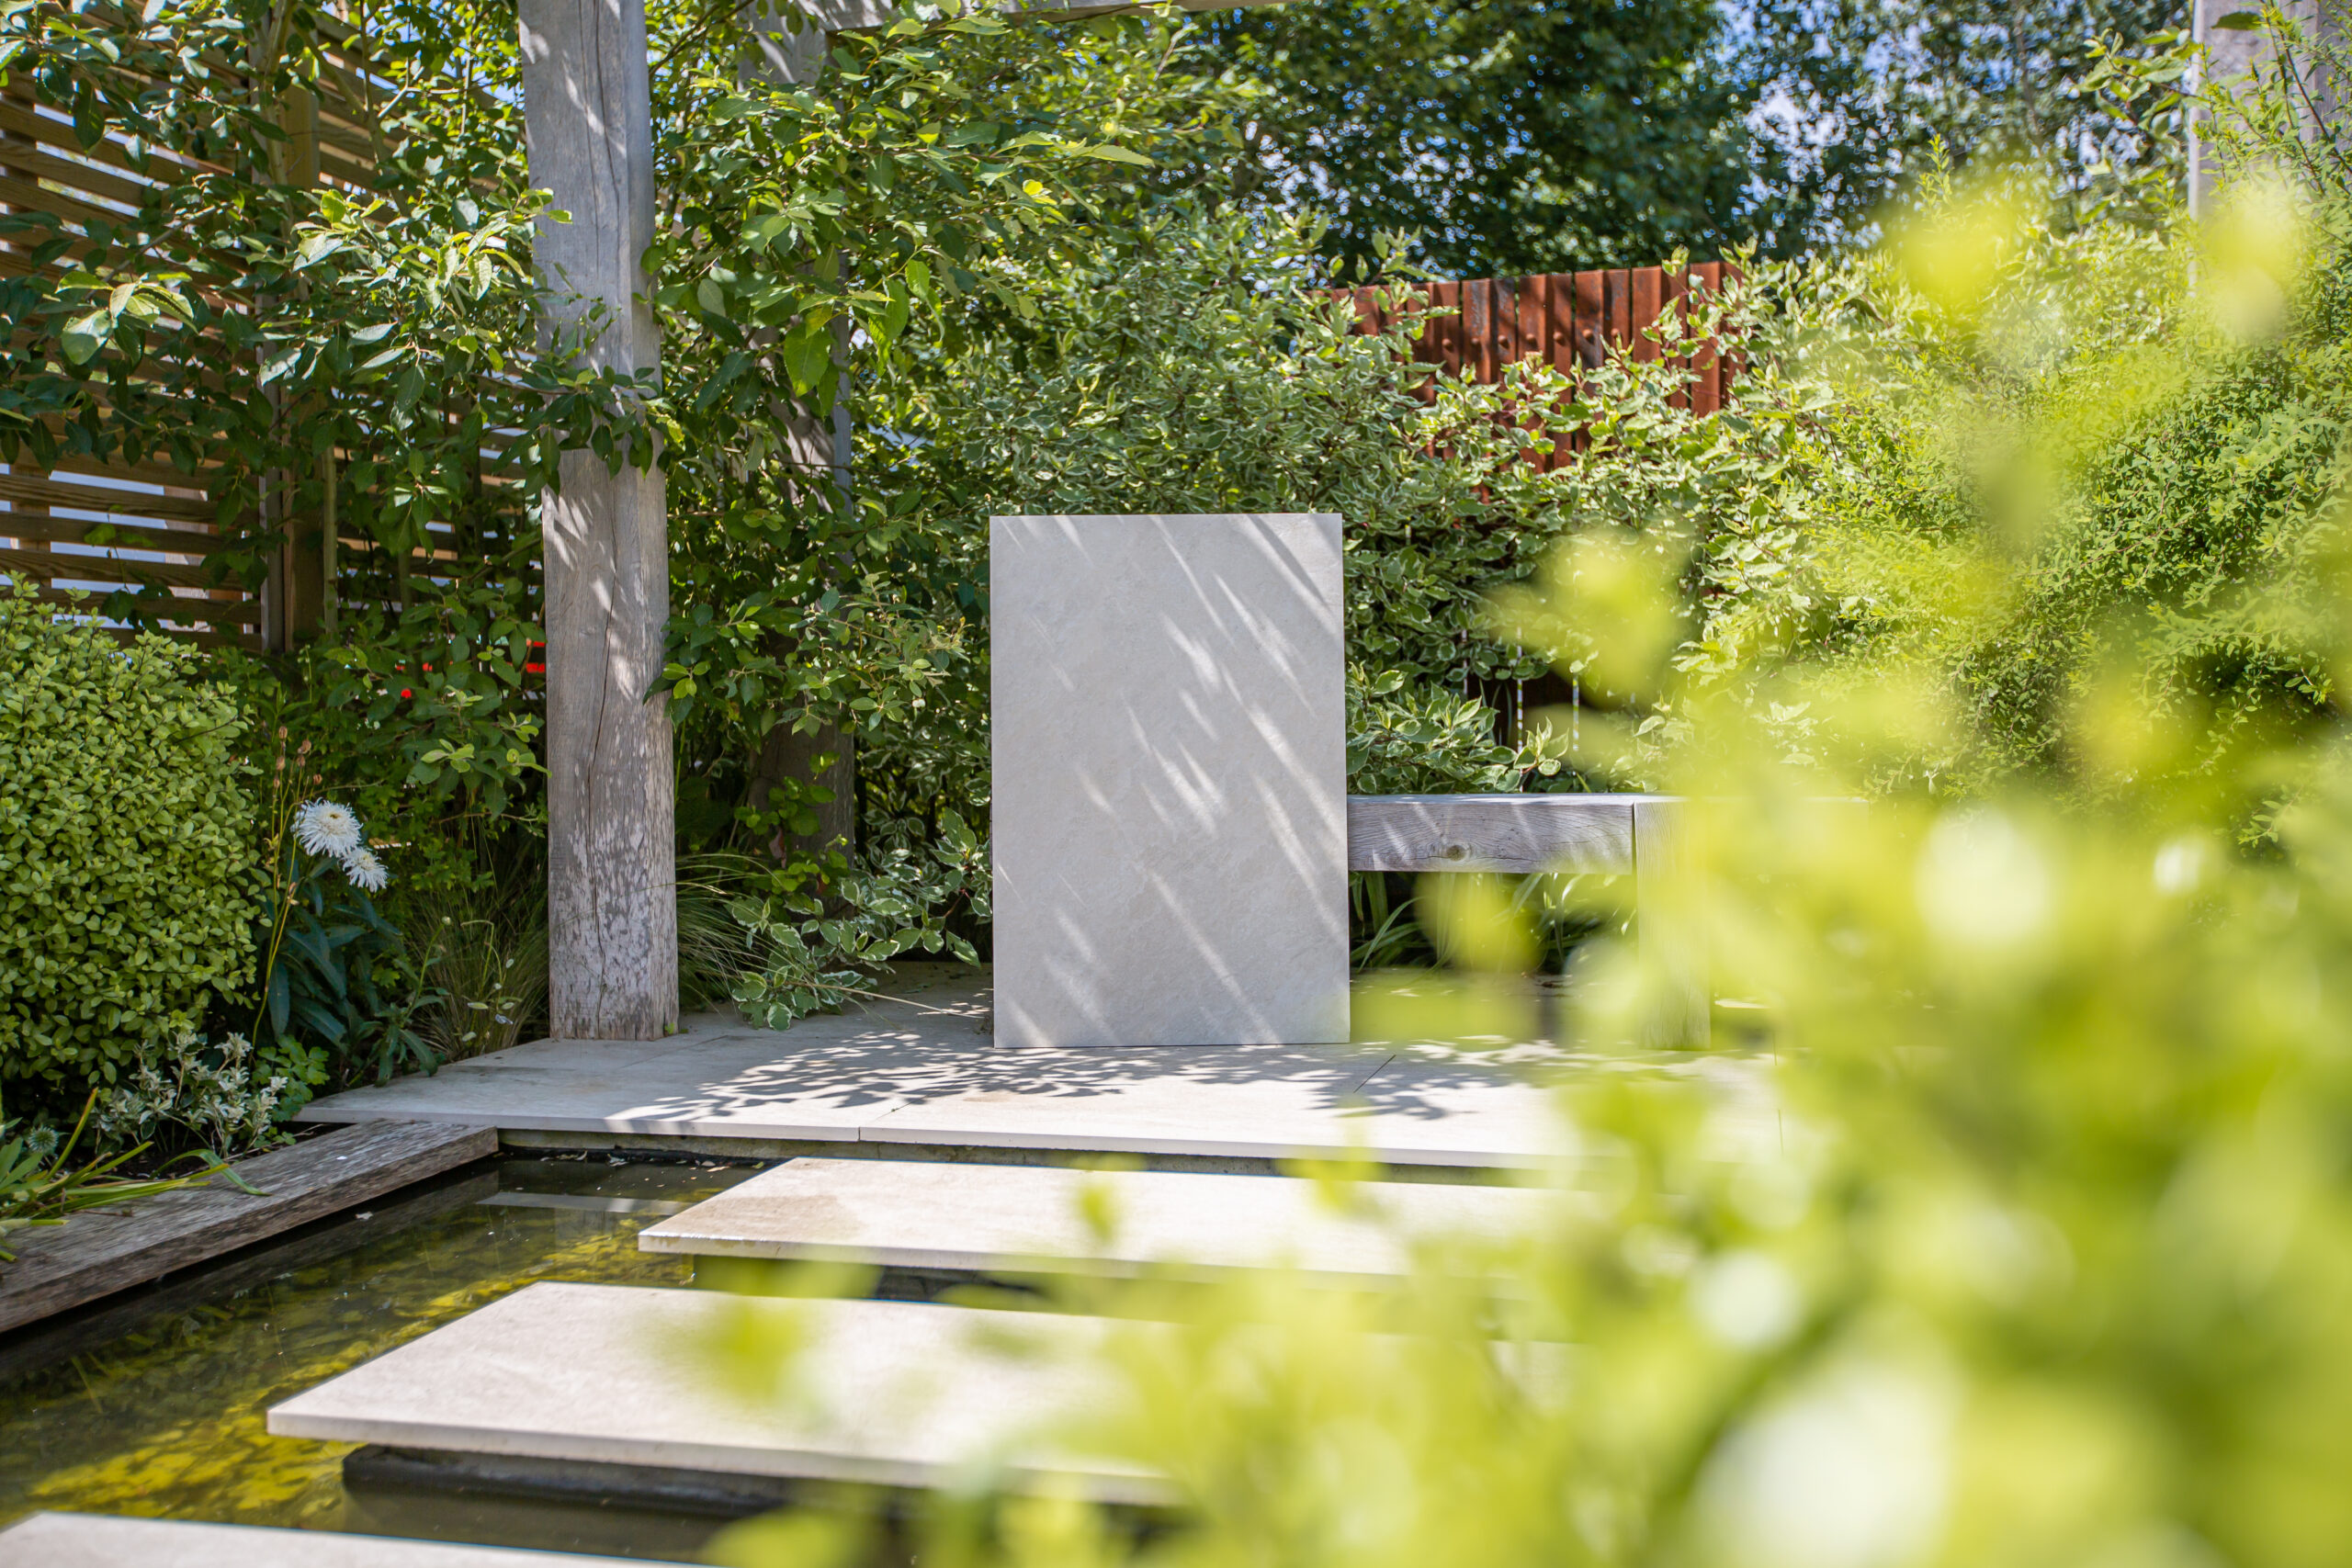
When it comes to choosing your porcelain slabs, there are a lot of options out there. To get the best idea of what might be best for you and your space, we’d recommend seeing them in person, such as at our show gardens.
As always though, we also understand that this might be a job you’d rather leave to the professionals. Corker Outdoors work with some of the best in the business. Get in touch for some local landscaper recommendations! But if you are going to give it a go yourself, this is the place to start!
What You’ll Need
- DPt Type 1 (MOT Type 1, or SWH Clause 803) – this is your sub-base
- Jointing compound (external tile grout)
- Mallet (rubber, preferably)
- Measuring tape
- Mortar (cement and sharp sand)
- Pointing trowel
- Porcelain tiles (of your choice)
- SBR/priming slurry
- Shovel
- Spirit level
- String line
When working with hazardous materials, or substances that may chip or create dust when cutting – please remember to wear the appropriate safety protection.
How to Lay Porcelain Slabs
Get Digging
Prepare the area you’ll be paving by fully digging out the site. It’s important to have already chosen your pavers, so you can work out dimensions, and to have marked out your area carefully. You’ll also need to ensure you have checked and marked any utility or electrical lines that may be hidden within your work area.
You’ll need to remove all vegetation, roots, and topsoil within your marked area. The depth you’ll need to dig out will depend on the pavers you’ve chosen, and you’ll also need to allow for your subbase and sand layers, as well as the slabs themselves. When digging out, start a little wider than your marked area. Use the string line to also allow for a slight slope, enabling natural drainage. Approximately, there should be a one inch drop for every four feet of paving, or a 1:80 ratio overall.
When digging out grass and sod, this is best done with your spade and shovel. If you want to keep any of this to border your new patio, cut the sod into small strips and keep wet so you can re-use.
Once you’re at an adequate depth (usually 6-7 inches in normal situations), you can use your spirit level to make sure things are levelled off. This is a job made much easier with the hire of a plate compactor.
Subbase Basics
The next step is to lay the subbase. This is an essential part of the process, as a solid subbase will prevent movement underneath the paving – which could lead to cracking and having to replace your slabs sooner than ever intended. Laying the subbase enables you to create a firm and level foundation.
You’ll be using a DPt type 1 material to do this. This is an official, recognised size and type of aggregate that is commonly used for everything ranging from pathways to major roads. This type of material was also formerly known as MOT Type 1 and can also be labelled SWH Clause 803. It’s a little confusing, but as always, if you’re not sure, our team of friendly experts are at the end of a phone or online to help point you in the right direction.
Typically made up of granite or limestone, this is a well-graded material sized from 2.5 inches (63mm) to dust. However, it is rarely much more than an inch (31.5mm). Having been broken down into these small sizes, the material enables load-bearing weight to be distributed over a wide area. It’s also incredibly stable, preventing sinkage or settling if laid well. Usually, it’s also frost resistant if laid within 15 inches (450mm) of the ground surface, and you shouldn’t need to replace it should you decide to redo your paving or patio in the future.
As a general guideline, you’ll need to compact the subbase to approximately 4 inches (100mm) for a patio, and 8 inches (200mm) for a driveway. For best results, fill your area with an extra 50mm (2 inches) of subbase material, and then compact it down to the required level.
Lay Things to Bed
Now, with your subbase laid, you can start on your full bed of semi-wet mix. Ideally, you’re looking for a ratio of 4:1 of sharp sand to cement for your mortar.
This is a slightly higher mix than you may be used to. This is because porcelain requires a little more cement than other paver types, to build a stronger bond between the paving slab and earth. Unfortunately, laying porcelain slabs is a little less forgiving than when working with natural stone, so it’s important to try and be as accurate as possible here.
Bond With Your Project
Remember, porcelain is a non-porous material. That makes it fantastic for resisting the effects of weathering and making it naturally anti-slip. It’s even great for drainage. But it means that it doesn’t naturally take to being laid on the wet mix you’ve carefully collated. To help with this, you’ll need a bonding bridge, also known as a slurry primer or bond coat. This is simply a specialist coating applied to the underside of paving units to improve adhesion to the bedding.
In some cases, they can also give added protection to the paving against the migration of disfiguring salts and minerals.
Simply prime the back of each slab before laying and you’ll be ready to go.
Get Laying
Suddenly, your project is taking shape, literally! It’s time to lay your slabs. Place each primed paver directly onto your full bed of mortar. As before, you’ll need to allow for natural drainage with a slope of 1 inch for every four feet. If you’ve put your subbase and bed down correctly, this should be easy to accommodate.
As with working with natural stone, it is important to ensure that the height of the finished paving does not breach the damp proof course of any adjacent or nearby buildings.
We’d recommend you start by laying each slab into position one corner at a time. This will help ensure accurate placement as you go. You may also prefer to lay your mortar one slab at a time if you’re not sure about the previous steps. This not only ensures the mortar won’t dry before you install the pavers but will also again help ensure accuracy.
Positioning
It’s now a case of tapping (also known as tamping) your pavers into space, carefully. Remember, porcelain is strong, but it won’t be able to withstand excessive hammering, so try to avoid excessive repositioning. Try to be efficient by measuring and knowing the design you want before laying.
The overall strength of the completed surface will still rely heavily on the bond between the mortar and the slab, so getting the stage detailed above right is important! For best results, position the slab when 100% of the paver is in contact with the mortar bed, as this will ensure a stronger bond and deliver a longer lifespan.
Get Some Space
Using spacers is one way to make your job easier. They’ll enable you to create a joint between the pavers. Roughly, you should be looking to leave an even, 5mm (0.2 inch) joint between each paver.
Finishing Touches
The end is in sight! From here, it’s just a case of continuing to lay your pavers, tapping and spacing until your project area is covered. Once all your slabs are down and in place, you can remove any leftover primer from the surface porcelain by giving them a quick clean.
Grout it Out
All that’s left to do is to grout the porcelain with a good quality external tile grout.
Summary
If you’re really looking to give your outdoor space a wow factor, then our selection of Italian and in-house porcelain will help you get just that! Porcelain boasts incredible versatility and practicality, combined with stunning good looks. It’s heat resistant, naturally anti-slip, and weather and frost resistant, yet can compete with the best of natural stone for aesthetic appeal too. It’s one of the best value materials you can use, being long-lasting, hard wearing and more than drop-dead gorgeous enough to impress the neighbours and visitors alike. So, although they can be a little trickier to lay than other paving, we hope our guide on how to lay porcelain slabs will inspire you to go for it and create your perfect outdoor space.